The aim of this article is to explain a number of frequently-used tools in Photoshop Toolbar, as well as giving an overview of Photoshop Menus and Options Panes.
Photoshop is an incredibly powerful software application for image editing, drawing, painting, touch up and color correction. This application can be a bit intimidating to new users who have no clue on how to use the plethora of elements on its interface. If you have wanted to use Photoshop but did not know where to start, you will soon be on your way to creating original artwork or editing digital images after going through the Photoshop basics below.
Once you open the application, you will find a variety of elements including a toolbar, menus, and options panes. You can reveal or hide some of these elements by selecting or deselecting them in the window menu, respectively.
Toolbar
The most vital element is probably the toolbar. The Photoshop toolbar contains a variety of icons that represent the tools offered by this application to create and edit images.

If you see a little arrow appearing on the bottom corner of the tool icon, you can click and hold your mouse to reveal more options within that tool:

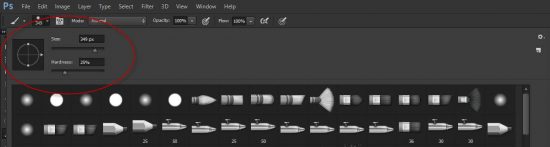
You will also notice when a tool is selected, a series of options will appears on the top option bar. For example, here is what appears on the option bar when the Gradient Fill tool is selected:

As you continue to learn more about Photoshop, you should keep on eye on the options bar, which is directly below the main menu. This bar shows the changes that you can make on your image after you select a certain tool. So, if you select a tool that does not respond the way you want it to, you can examine the options bar to fix it.
A few example tools found in the toolbar and their keyboard shortcuts include:
The move (keyboard V): allows you to move or drag objects of a particular layer within the canvas
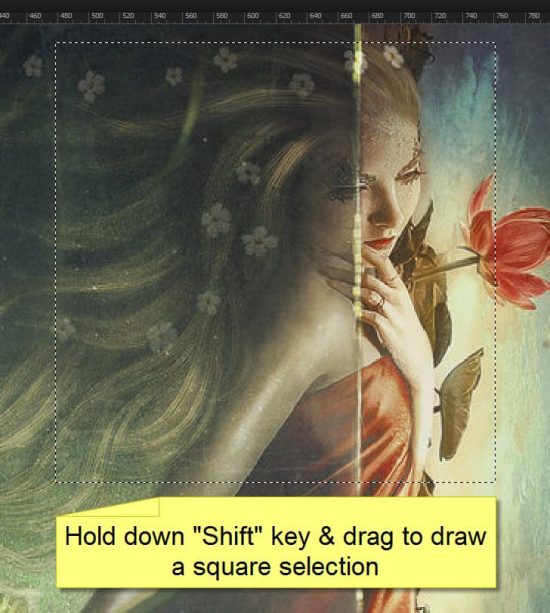
The marquee (keyboard M): allows you to select a section of the canvas in a specific shape including square, ellipse, and rectangle
The Lasso (keyboard L): a free-form selection that assumes a variety of shapes and allows you to drag the selected area around the canvas
Magic wand (keyboard W): allows you to select a spot on your image, as well as anything around it that is similar
Crop tool (keyboard C): this tool is for trimming your images to any size that you desire. You can also specify an exact size to constrain this tool to those proportions
Eyedropper (keyboard I): you can use this tool to click on any section of the canvas to sample the color at that exact point, and change the foreground color to the sampled one.
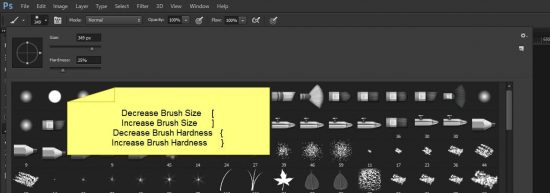
Pencil and Paintbrush (keyboard B): this tool emulates a pencil or paintbrush depending on the one you select. For the paintbrush, you can choose different kinds of brushes, as well as paint styles and shapes.
There are many other tools like the eraser, gradient tool, paint can, smudge tool and text tool, among others.
Panes
Panes are also vital features that relay all kinds of information like tool options, layer selection, history, display location information, and text style, among others.
Here is a list of panes you are most likely to encounter when you start using Photoshop:
Palettes: they are usually located on the right side of the application to facilitate easy navigation through the document, switch modes, and add adjustments, among others.

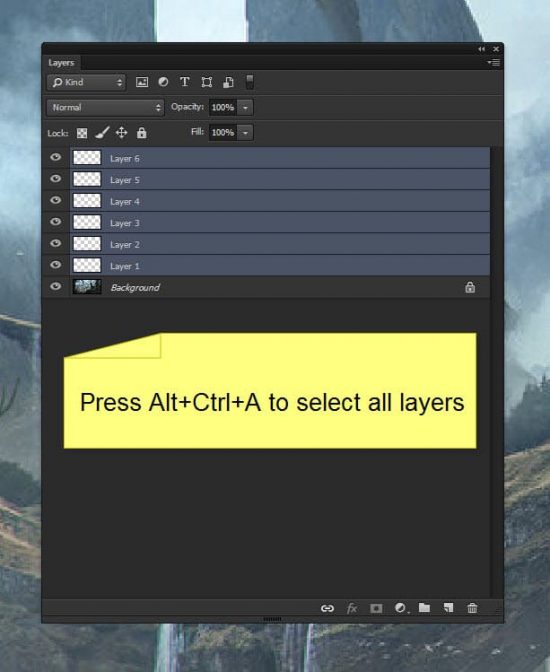
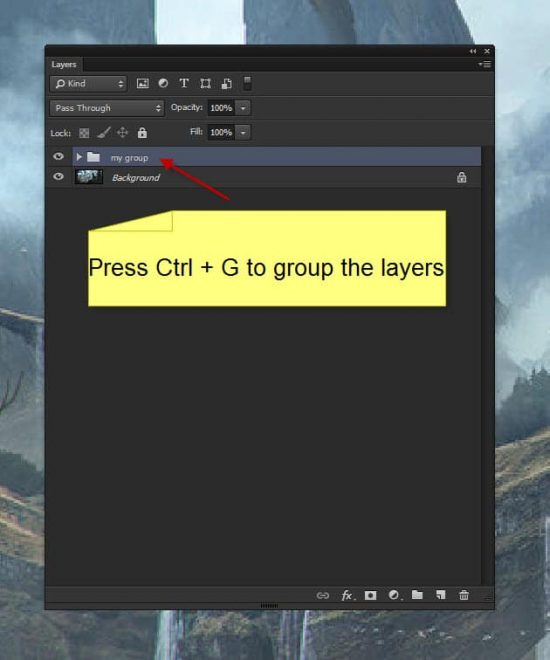
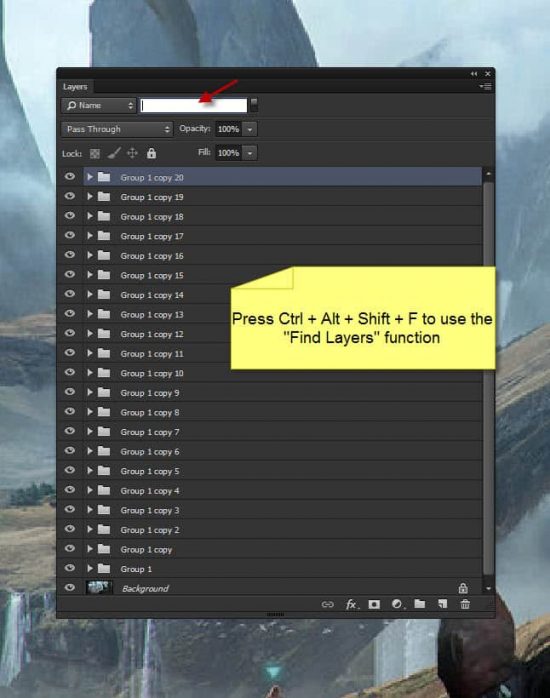
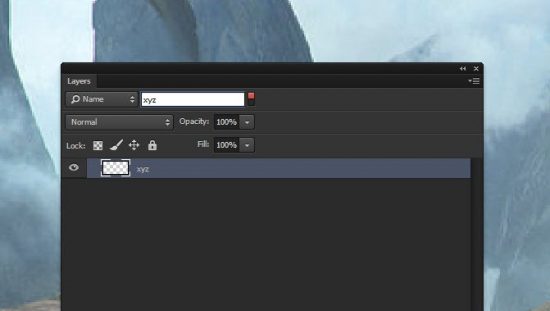
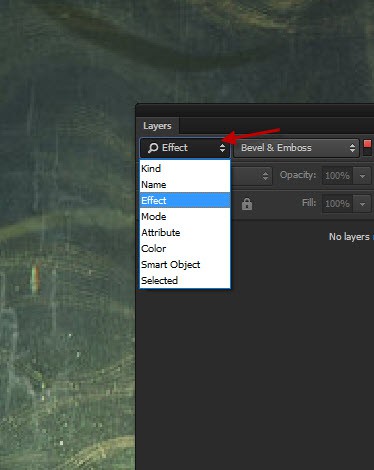
Layers: you will use this pane the most in Photoshop, as you switch between different layers in your document. You can change different aspects of the layers like transparency, visibility, blending, and even group or merge them, among other functions.

Adjustments panel: It allows you to alter the color of your layers in color correction, and can be easily turned off to maintain the original color of the image.

Color picker palette: allows you to change the foreground and background colors using sliders.

Other panes and palettes include history, text, color swatches, and color channels.
Menus
Most people are familiar with menus. They contain all tools and options that you may need to use in your Photoshop creation or editing, including those not found in the toolbar or panes, but they are never fully explored.
The file menu contains various options like import and multiple saving options:

The edit menu offers image-altering functions including fill and stroke:

The image menu offers various adjustments for size, color, and size among others:

Other menus include type, select, filter, 3D, layer, view, window, and help.
That’s for this tutorial! Hope you can have a better understanding of Photoshop Toolbar, Panes and Menus. Now have a go at using them!
The post Basics of Photoshop Toolbar, Panes and Menus appeared first on PSD Vault.